Growing ginger at home is a rewarding experience that yields a bountiful harvest of fresh, zesty roots perfect for culinary and medicinal uses. In this guide, I’ll walk you through every step of the process, from selecting the right rhizomes to harvesting your homegrown ginger.
Why Grow Ginger?
Before we dive into the how-to, let’s explore why growing ginger is such an exciting prospect:
- Fresh flavor: Nothing beats the taste of homegrown ginger.
- Health benefits: Ginger boasts anti-inflammatory and antioxidant properties.
- Versatility: Use it in cooking, teas, and natural remedies.
- Cost-effective: Save money by growing your own.
- Satisfaction: Experience the joy of nurturing a plant from start to finish.
Now, let’s get our hands dirty and start growing!
Selecting Your Ginger Rhizomes
The first step in your ginger-growing journey is choosing the right rhizomes. Here’s what to look for:
- Plump, firm rhizomes
- Smooth skin without wrinkles
- Visible growth buds or “eyes”
- Organic, if possible, to avoid growth inhibitors
Pro tip: I’ve had great success with rhizomes from local farmers’ markets or health food stores.

Preparing the Soil
Ginger thrives in rich, well-draining soil. Follow these steps to create the perfect growing environment:
- Choose a pot with drainage holes or prepare a garden bed.
- Mix equal parts potting soil, compost, and sand.
- Ensure soil pH is between 5.5 and 6.5.
- Add organic matter to improve fertility.
Planting Your Ginger
Now for the exciting part – planting! Here’s how to do it right:
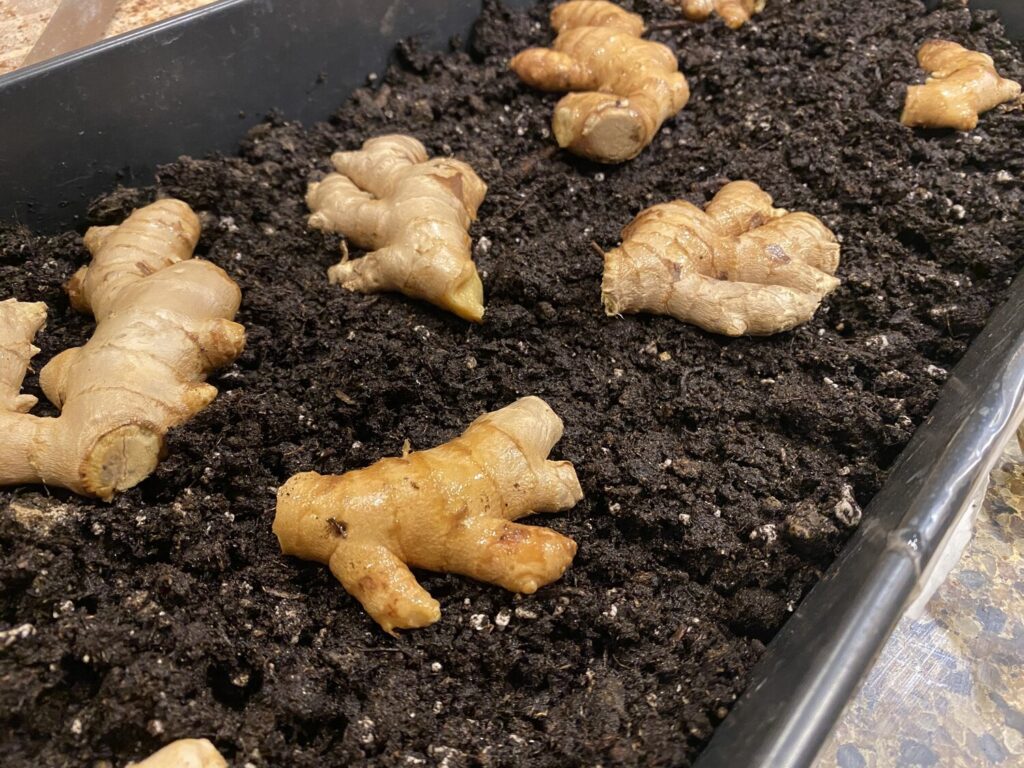
- Cut rhizomes into 2-3 inch pieces, each with at least one growth bud.
- Allow cuts to callus over for 24-48 hours.
- Plant 2-4 inches deep, growth buds facing up.
- Space plants 6-8 inches apart.
- Water thoroughly after planting.

Caring for Your Ginger Plants
Proper care is crucial for healthy ginger plants. Follow these tips:
- Water regularly, keeping soil moist but not waterlogged.
- Mulch to retain moisture and suppress weeds.
- Fertilize monthly with a balanced, organic fertilizer.
- Provide partial shade, especially in hot climates.
- Protect from frost in colder regions.
Harvesting Your Ginger
The moment you’ve been waiting for – harvest time! Here’s what you need to know:
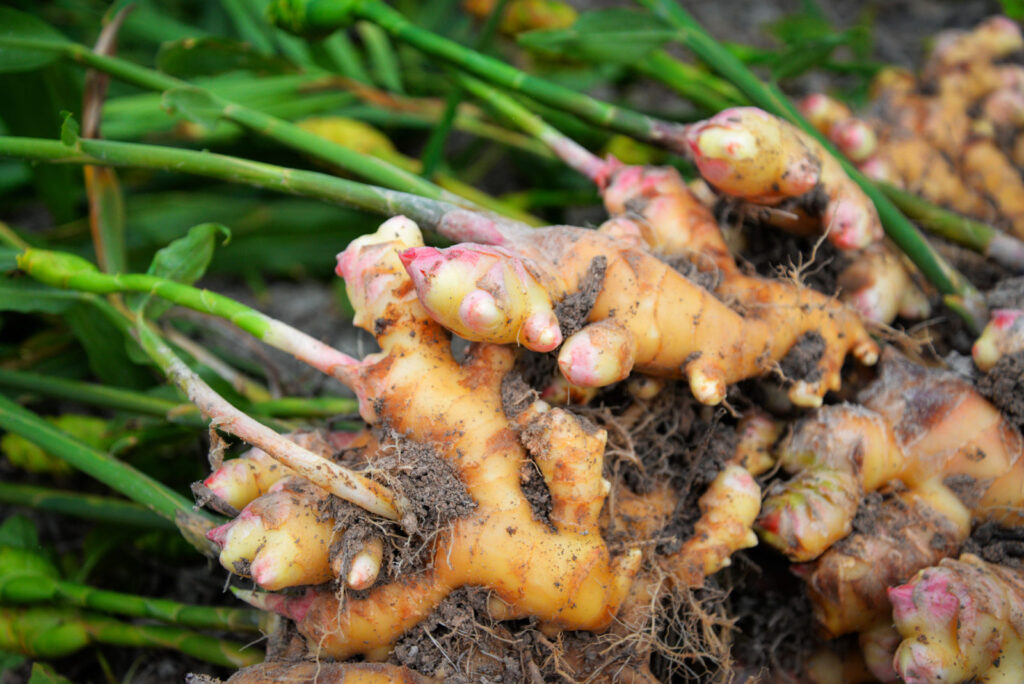
- Baby ginger can be harvested after 4-6 months.
- Mature ginger is ready in 8-10 months.
- Gently dig around the plant to expose rhizomes.
- Cut what you need, leaving some for regrowth.
- Clean and store harvested ginger properly.

Troubleshooting Common Issues
Even experienced gardeners face challenges. Here are solutions to common ginger-growing problems:
- Yellowing leaves: Often a sign of overwatering. Adjust your watering schedule.
- Slow growth: Ensure adequate nutrients and sunlight.
- Pests: Use neem oil or insecticidal soap for common pests like aphids or mealybugs.
- Root rot: Improve drainage and avoid overwatering.
Cooking with Fresh Ginger
Now that you’ve grown your own ginger, it’s time to enjoy it! Here are some delicious ways to use your harvest:
- Ginger tea: Steep sliced ginger in hot water for a soothing drink.
- Stir-fries: Add minced ginger for a zesty kick.
- Baked goods: Incorporate grated ginger into cookies or cakes.
- Smoothies: Blend fresh ginger into your favorite smoothie recipes.
- Marinades: Use ginger to add flavor to meats and vegetables.

Preserving Your Ginger Harvest
To enjoy your homegrown ginger year-round, try these preservation methods:
- Freezing: Grate or slice ginger and store in freezer bags.
- Drying: Dehydrate thin slices for ginger powder.
- Candying: Create sweet, candied ginger for snacking or baking.
- Pickling: Preserve young ginger in vinegar for a tangy treat.
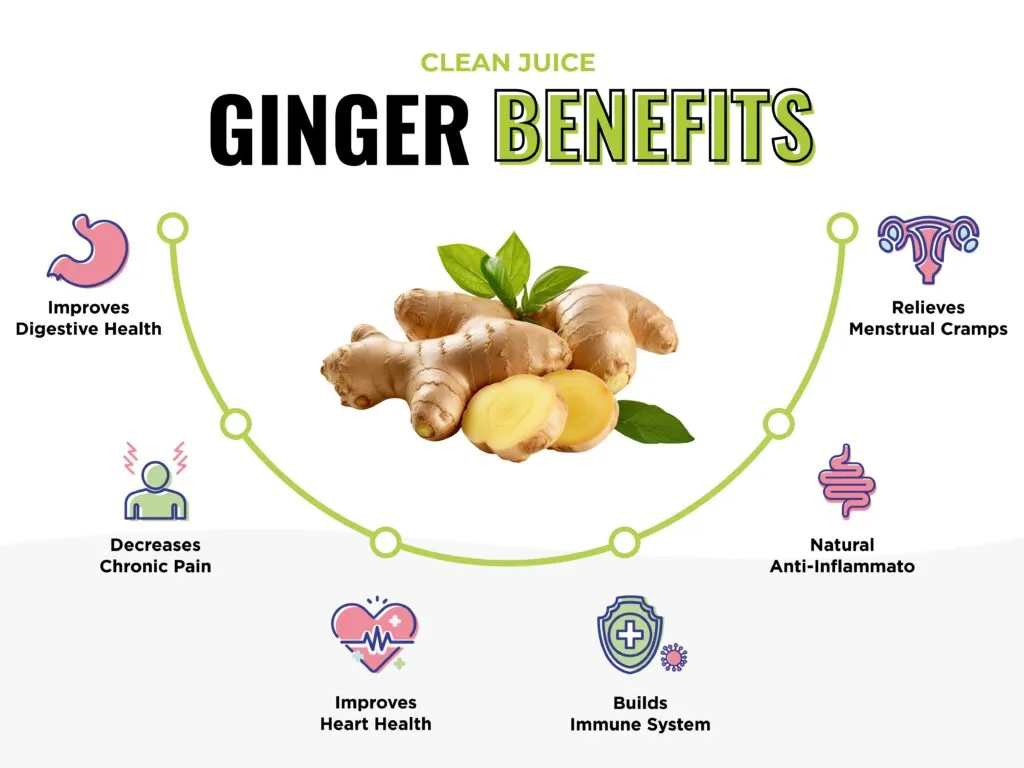
Ginger’s Health Benefits
Growing your own ginger isn’t just a fun hobby – it’s also great for your health! Here are some of the benefits:
- Reduces inflammation
- Eases nausea and digestive discomfort
- Boosts immune system
- May help lower blood sugar levels
- Could reduce muscle pain and soreness
Remember, while ginger is generally safe, consult with a healthcare professional before using it medicinally.

Expanding Your Ginger Garden
Once you’ve mastered growing ginger, why not try these related plants?
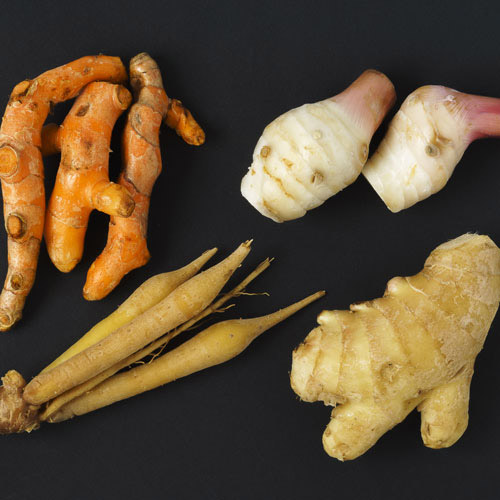
- Turmeric: A close relative with similar growing requirements.
- Galangal: Another member of the ginger family with a unique flavor.
- Cardamom: A spice that thrives in similar conditions to ginger.
Experimenting with these plants can expand your culinary horizons and gardening skills.

Conclusion:
Growing ginger is a rewarding experience that yields delicious, healthful results. With the right care and attention, you can enjoy a bountiful harvest of fresh, zesty ginger right from your own garden or indoor pots. Remember, patience is key – while it may take several months to see results, the wait is well worth it when you taste your first homegrown ginger.
As you embark on your ginger-growing journey, don’t be afraid to experiment and learn from both successes and setbacks. Each growing season brings new insights and opportunities to refine your techniques. Before long, you’ll be sharing your own tips and experiences with fellow ginger enthusiasts!
So, what are you waiting for? Grab some rhizomes, prepare your soil, and start growing your very own ginger today. Your taste buds – and your health – will thank you!
People also ask:
How long does it take to grow ginger?
Ginger takes 8-10 months to fully mature, but you can harvest baby ginger after 4-6 months.
Can I grow ginger indoors?
Yes! Ginger can be grown in pots indoors, provided it receives adequate light and care.
How often should I water my ginger plants?
Water your ginger plants when the top inch of soil feels dry, typically 2-3 times a week.
Can I regrow ginger from store-bought rhizomes?
Yes, but choose organic rhizomes for best results, as non-organic ones may be treated with growth inhibitors.
What’s the best time to plant ginger?
Plant ginger in early spring after the last frost, or in late winter if growing indoors.
Read also: https://plantgrowup.com/rose-plant-diseases-treatment/