Introduction
Growing your own edible mushrooms is an exciting and rewarding journey that connects you with nature while providing a bountiful harvest of delicious, nutritious fungi. `This comprehensive guide will walk you through the fascinating process of mushroom cultivation, from selecting the right species to harvesting your first crop.
Why Grow Your Own Mushrooms?
Before we dive into the cultivation process, let’s explore why growing your own mushrooms is such a fantastic endeavor:
- Fresh, flavorful produce: Home-grown mushrooms offer unparalleled freshness and taste.
- Sustainable food source: Mushroom cultivation is environmentally friendly and requires minimal resources.
- Health benefits: Many edible mushrooms are packed with nutrients and medicinal properties.
- Fun and educational: The process is engaging and teaches valuable lessons about fungal biology.
- Cost-effective: Once set up, growing your own mushrooms can save money in the long run.
Choosing Your Mushroom Species
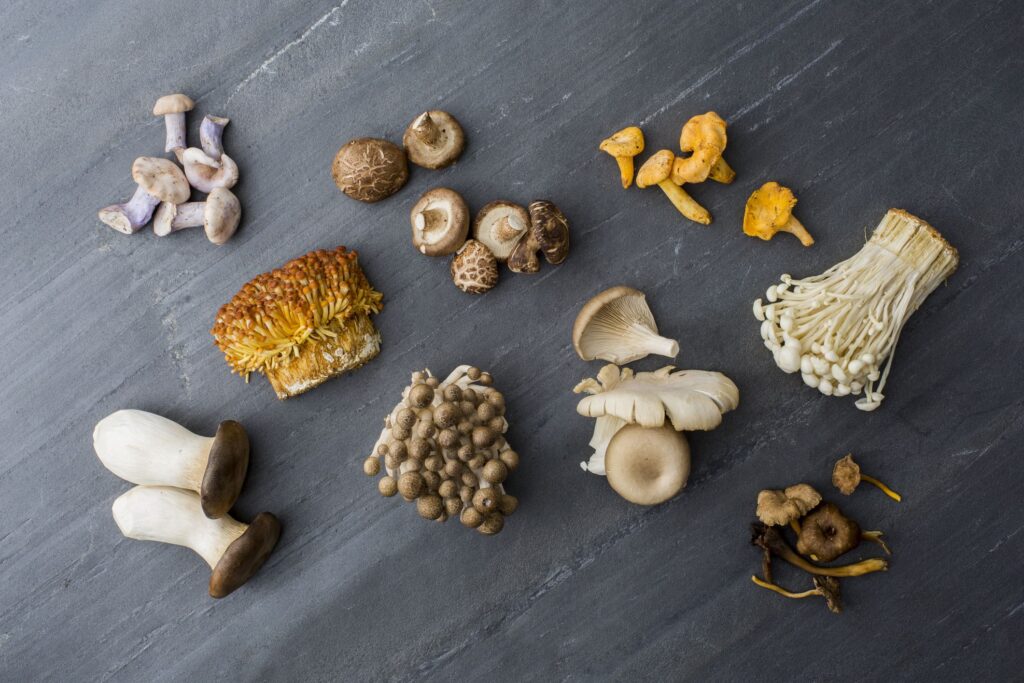
The first step in your mushroom-growing adventure is selecting the right species. Here are some popular options for beginners:
- Oyster mushrooms (Pleurotus ostreatus)
- Shiitake mushrooms (Lentinula edodes)
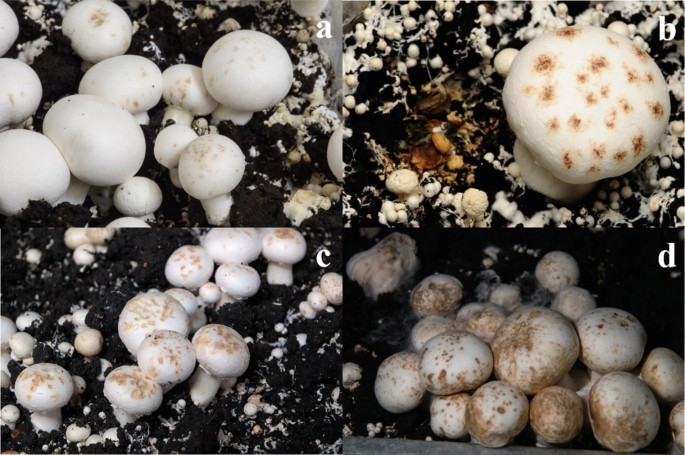
- Button mushrooms (Agaricus bisporus)
- Lion’s Mane mushrooms (Hericium erinaceus)
- Wine Cap mushrooms (Stropharia rugosoannulata)
Each species has unique growing requirements and flavors. For this guide, we’ll focus on oyster mushrooms, as they’re one of the easiest and most versatile varieties for beginners.

Essential Equipment and Materials
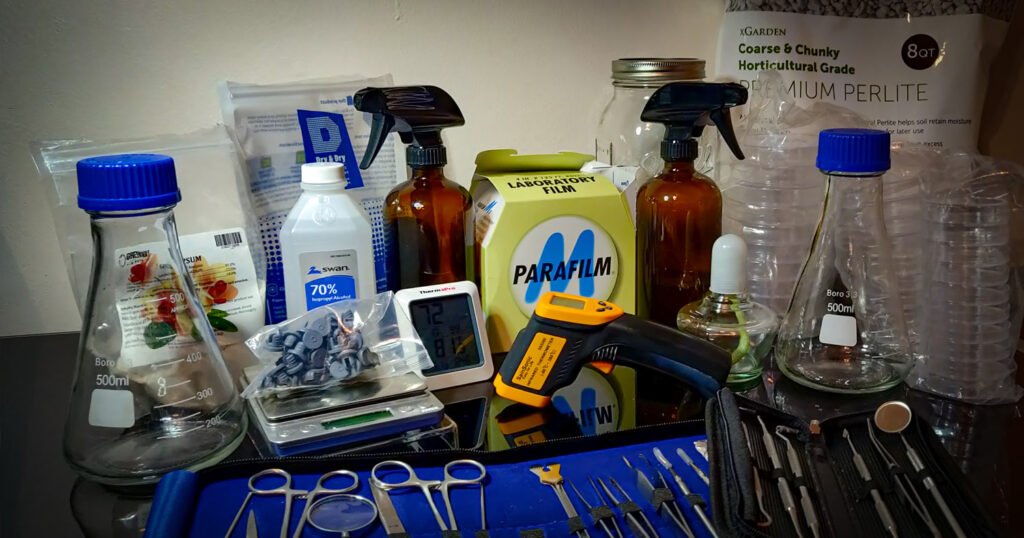
To start growing mushrooms, you’ll need the following:
- Mushroom spawn
- Substrate (growing medium)
- Sterilization equipment (pressure cooker or large pot)
- Growing containers
- Spray bottle
- Thermometer and hygrometer
- Gloves and face mask

Step-by-Step Guide to Growing Oyster Mushrooms
Now, let’s dive into the exciting process of growing your own oyster mushrooms!
Prepare Your Substrate
Oyster mushrooms thrive on various substrates, including straw, wood chips, or coffee grounds. For this guide, we’ll use straw:
- Chop straw into 2-3 inch pieces
- Soak straw in hot water (160-180°F) for 1-2 hours
- Drain and let cool to room temperature
Sterilize the Substrate
Sterilization is crucial to prevent contamination:
- Place substrate in heat-resistant bags
- Use a pressure cooker or large pot to sterilize at 15 PSI for 1-2 hours
- Allow to cool completely before handling
Inoculate the Substrate
This is where the magic begins:
- In a clean environment, mix mushroom spawn with cooled substrate
- Use about 10% spawn to 90% substrate by weight
- Pack the mixture into sterilized growing containers
Incubation
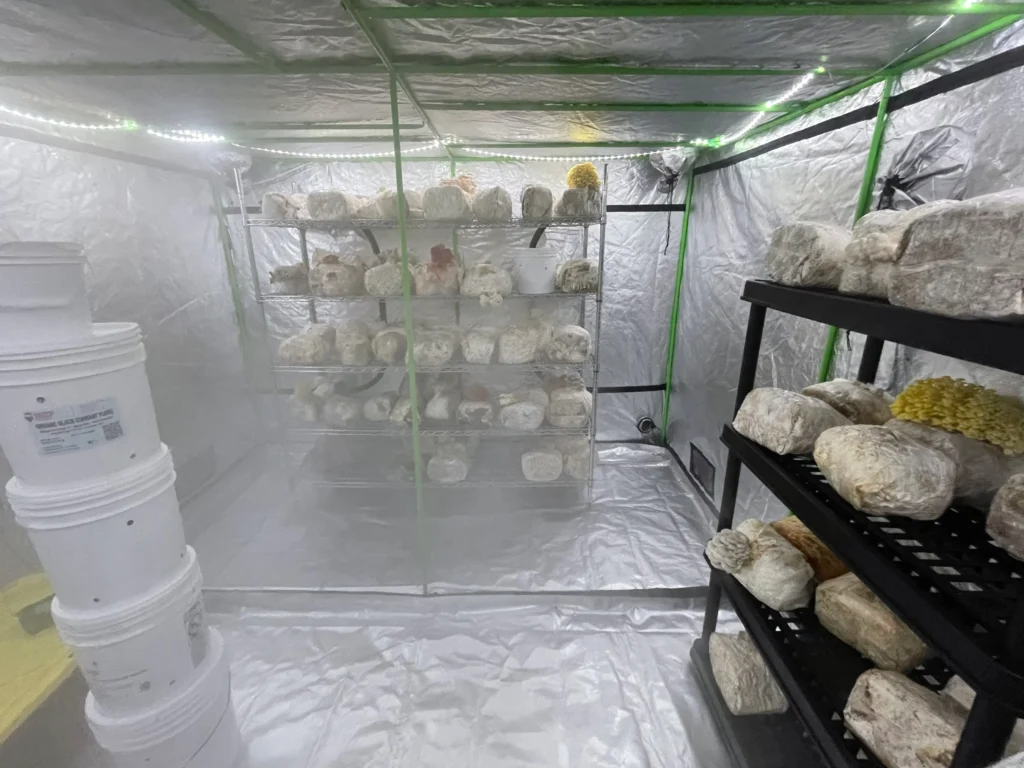
During this phase, mycelium (fungal threads) will colonize the substrate:
- Keep containers in a dark, warm place (70-75°F)
- Maintain high humidity (80-90%)
- Wait 2-3 weeks for full colonization
Fruiting
Once the substrate is fully colonized, it’s time to trigger fruiting:
- Move containers to a cooler area (60-65°F)
- Increase light exposure (indirect sunlight or fluorescent light)
- Maintain high humidity (90-95%) by misting regularly
- Ensure good air circulation

Harvesting
The moment you’ve been waiting for:
- Harvest mushrooms when caps are fully opened but before edges curl up
- Cut clusters at the base with a sharp knife
- Refrigerate harvested mushrooms promptly
Subsequent Flushes
Oyster mushrooms can produce multiple harvests:
- After harvesting, mist the substrate and maintain fruiting conditions
- Expect 2-3 flushes before substrate is exhausted
Common Challenges and Solutions
Even experienced growers face challenges. Here are some common issues and how to address them:
- Contamination: Maintain strict hygiene and proper sterilization techniques
- Poor fruiting: Adjust temperature, humidity, and light conditions
- Pest problems: Implement proper air filtration and cleanliness measures

Expanding Your Mushroom-Growing Horizons
Once you’ve mastered oyster mushrooms, consider exploring other exciting varieties:
- Shiitake on logs: A long-term, low-maintenance option
- Lion’s Mane in bags: Prized for its unique texture and potential health benefits
- Wine Cap in outdoor beds: Perfect for garden integration
Cooking and Enjoying Your Homegrown Mushrooms
The culinary possibilities are endless with fresh, homegrown mushrooms:
- Sauté in butter for a simple, delicious side dish
- Add to stir-fries, soups, and pasta dishes
- Use as a meat substitute in vegetarian and vegan recipes
- Dry excess harvest for long-term storage
Conclusion:
Embarking on your mushroom-growing journey is an exciting step towards self-sufficiency and culinary adventure. With patience, attention to detail, and a passion for learning, you’ll soon be harvesting your own delicious, homegrown mushrooms. Remember, each crop is a learning experience, so don’t be discouraged by initial setbacks. Embrace the process, and you’ll be rewarded with a bountiful harvest of nutritious, flavorful fungi.
As you continue to develop your skills, you’ll discover the joy of experimenting with different species and techniques. The world of mushroom cultivation is vast and fascinating, offering endless opportunities for growth and discovery. So roll up your sleeves, prepare your substrate, and get ready to experience the magic of mushroom growing firsthand!
Happy cultivating, and may your harvests be plentiful!
People also ask:
How long does it take to grow mushrooms from start to finish?
The process typically takes 6-8 weeks, depending on the species and growing conditions.
Can I grow mushrooms without a pressure cooker?
Yes, alternative methods like steam pasteurization can be used, though they may be less effective.
Are there any risks associated with growing mushrooms at home?
When proper precautions are taken, home mushroom cultivation is safe. However, always verify the identity of wild-collected mushrooms before consuming.
Can I grow mushrooms outdoors?
Absolutely! Many species, including Wine Caps and Shiitake, thrive in outdoor settings.
How do I know if my mushrooms are safe to eat?
Always use reputable spawn sources and follow proper cultivation techniques. If in doubt, consult an expert.
Read also: https://plantgrowup.com/how-to-grow-peach-plants/